Colour Change Wrap Aftercare: Your First Week Guide
Published
The moment your car comes back from the shop looking like a different vehicle, the instinct is to wash it, show it off, and get on with life. Resist that instinct — at least for a couple of days. Here is what actually matters in the first week after a colour change wrap, and what can go wrong if you skip the settling period.
Why the First Week Is the Critical Window
Paint protection film and colour change vinyl are pressure-sensitive adhesives. After installation, the film continues to bond with the paint surface as any remaining moisture under the film evaporates. This post-installation cure period typically runs 24 to 72 hours in normal conditions, and can run longer in cooler or more humid environments. Vancouver's climate — overcast, damp, and often in the mid-teens even in late summer — means the cure can take longer than you might expect from reading general advice online written for warmer cities.
If you pressure-wash the car, expose it to heavy rain, or park it in direct sunlight on a hot day during this window, you risk film lifting at the edges, bubbling in the centre of panels, or adhesive contaminating in a way that cannot be corrected without a partial re-install.
The No-Wash Rule: At Least 48 Hours, Ideally a Full Week
Do not wash the car for a minimum of 48 hours after installation. If you can stretch that to five to seven days, the film will be more fully settled and the edges will be more secure before you introduce water under pressure. Even a gentle hand-wash in the first two days can push water under the film at edges and seams if the adhesive has not fully cured. Use the time to simply observe the car and note anything that looks off.
If it rains heavily in the first 48 hours after installation, that is normal — the car is designed to be in the rain — but do not wipe or pressure-wash the car until the post-installation cure window has passed. Light rain is not a problem.
What to Inspect in the First 24 Hours
Walk around the car in good light — daylight, not garage light — and check the following: edges of every panel, particularly door handles, around mirrors, boot shuts, and fuel-filler doors. These are the highest-stress areas for film adhesion. Look for any lifting, bubbling, or peeling that may have occurred during the cure. If you see something lifting before you have even driven the car, bring it back to the shop immediately — this is a straightforward fix at this stage and not something to wait on.
Minor bubbles that appear immediately after installation are often residual moisture working its way out and may disappear within the first day or two. Anything that persists beyond 48 hours is worth flagging.
The First Wash: Technique and Products
Once the cure window has passed, wash the car by hand with a pH-neutral shampoo and a clean, soft microfibre wash mitt. Two-bucket method — one for rinse, one for shampoo — keeps grit off the mitt. Work top to bottom, and do not press hard. When you rinse, use a hose at low pressure or a open-palm shower setting. Never direct a pressure washer at film edges or seams — this is the fastest way to lift a properly installed wrap.
Automated car washes — particularly brush-style tunnels — are not recommended for a wrapped car at any point. Touchless car washes are gentler, but a hand wash is always the better choice for both the wrap and the underlying paint.
The First Month: What to Watch For
Check the edges of the film every couple of weeks in the first month. Vancouver's wet weather means the car will be exposed to road moisture regularly, and while the film handles this fine, edges that were installed in borderline conditions can start to lift over time. Catching a loose edge early means a simple re-press rather than a partial re-install. Bring the car back to the shop if you see anything lifting — reputable installers will address this at no charge within the first few weeks.
Be cautious with automated parking garage car washes for the first month. The combination of tight brushes, chemical soaps, and high-pressure dryers is hard on a wrap that is still fully settling. Wait until the first service interval to use them, or skip them entirely.
Book Your Post-Installation Check
Most reputable wrap shops — including JRS Auto Customs — will schedule a follow-up inspection at around two to four weeks after installation. This is the time to address any edges that need re-pressing, any bubbles that did not resolve, or any other concerns before they become larger issues. Bring the car in for that appointment even if you think everything looks fine — it takes minutes and it is included in the service.
Learn more about colour change wrap options at JRS Auto Customs, or speak to us before your installation to understand the aftercare schedule that applies to your specific vehicle.
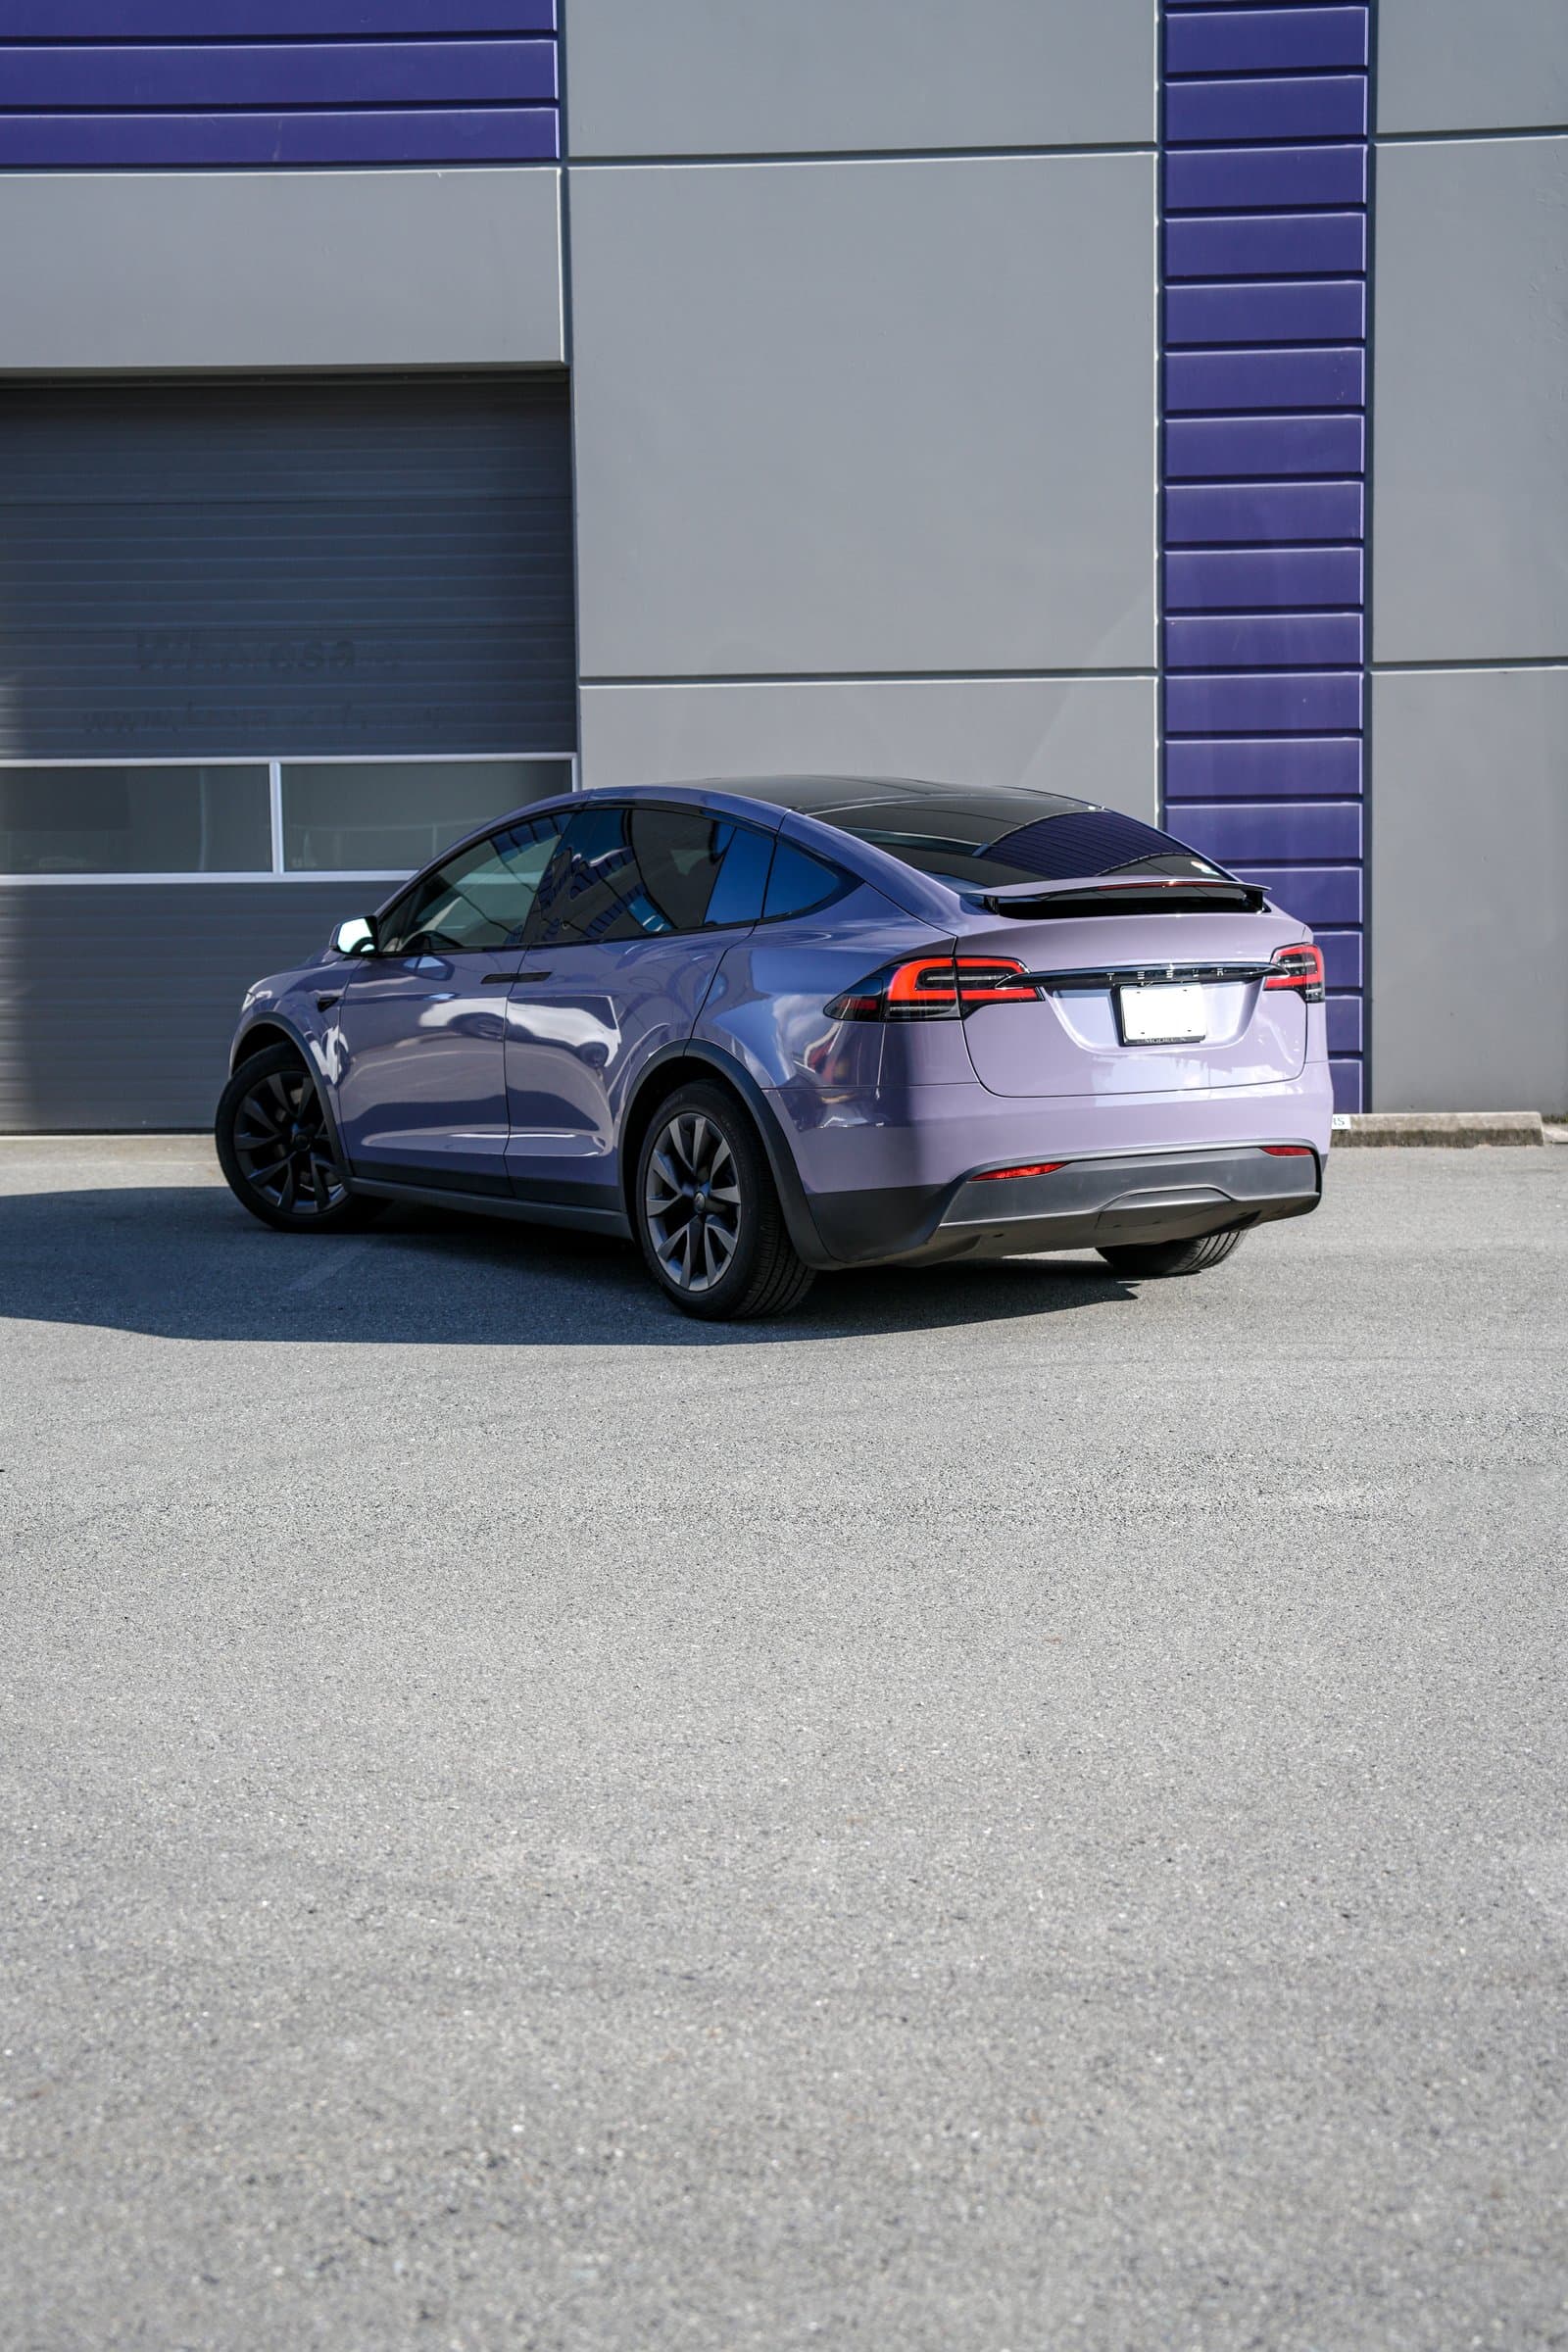
Related project: Tesla Model X — Provence Purple Color Change