What a Colour Change Wrap Appointment Actually Involves
Published
Getting a colour change wrap on your car is a bigger commitment than a routine detail, and most drivers have questions before they book: how long does it take, what happens to the paint underneath, can it be removed cleanly, and how do you look after it? Understanding the process before you commit makes for a better result and fewer surprises.
What Colour Change Actually Involves
Colour change wrap involves applying a vinyl or TPU film to the vehicle's exterior body panels in the colour or finish of your choice. The film is cut to fit each panel specifically — door panels, bonnet, boot lid, roof, front and rear bumpers, mirror caps, and spoiler surfaces if applicable. The edges are tucked and sealed to reduce the risk of lifting over time.
Two main film types dominate the market: PVC vinyl and TPU. PVC is the traditional option, with a wide range of colour choices at a lower price point. TPU is the newer premium option: more flexible, more resistant to minor impacts, and more resistant to the surface scratching that vinyl is prone to in daily driving conditions. For Vancouver's wet climate and road grit environment, TPU is increasingly the preferred choice for its durability.
The Preparation Phase: What the Car Needs Before the Film Goes On
Surface preparation is the most time-intensive part of a colour change appointment, and the part most often underestimated. The vehicle is washed, then a clay bar treatment removes embedded contamination from the paint surface. After clay, the paint is inspected under good lighting — every scratch, chip, and swirl mark will be visible under the film, and if left unaddressed they become permanent features under the wrap.
Any paint correction needed — swirl removal or single-stage polish — is done before the wrap is fitted. This is the window to fix the paint, because once the film is on, it cannot be addressed without removing the wrap. Discuss the paint condition with your shop when you book — not on the day of installation.
Panels with existing damage — deep chips, clear coat failure, or significant scratches — need to be disclosed before the appointment. A professional shop will identify these during the prep phase and discuss options. Painting the damaged panel before wrapping is one option; wrapping over minor chips and accepting them as-is is another.
The Installation Day: What to Expect
A full colour change on a sedan or coupe typically takes two to three days of installation time. An SUV or larger vehicle with more surface area can take three to five days. This is not a sign of slow work — it reflects the amount of panel surface that needs to be covered and the precision required at edges and curves.
During installation, the vehicle stays at the shop. You should not expect to drive it home the same day. A professional shop will give you a realistic timeline and keep you updated if anything changes the schedule.
After Installation: Caring for a Fresh Wrap
Freshly wrapped vehicles need a short settling period — typically 24 to 48 hours before the vehicle is exposed to rain or pressure washing. During this period, avoid automatic car washes and do not apply any topical products.
After the settling period, hand washing with a pH-neutral car wash shampoo and a soft microfibre mitt is the standard care routine. Avoid pressure washers held close to film edges, especially in the first weeks. Lift at film edges, if it occurs, is usually a result of improper edge care or pressure washing technique early in the life of the wrap.
A colour change wrap typically lasts three to five years with proper care, depending on film type, climate exposure, and parking conditions (garaged vs outdoor). TPU films generally last longer than PVC in outdoor parking situations.
Removal: What Happens When You Want Your Original Colour Back
Colour change wraps are designed to be removable. When done professionally, the film peels off without damaging the underlying paint — assuming the paint was in good condition before the wrap was applied. Removal involves heat to soften the adhesive, careful peeling to avoid stretching or tearing, and adhesive residue cleaning if needed.
If the paint had pre-existing damage, paint correction issues, or was in poor condition before wrapping, removal may reveal those issues more clearly. This is not a failure of the wrap — it is a disclosure of what was already there. Your shop should document the paint condition before installation begins.
Booking a Colour Change at JRS Auto Customs
JRS Auto Customs handles colour change wraps for sedans, SUVs, trucks, and sports cars. We use both PVC and TPU film and can advise on which product makes sense for your vehicle, usage pattern, and parking situation. Surface preparation and paint condition assessment are included in the installation process.
See our full colour change service page for more detail on film options, process timeline, and what to expect before you book.
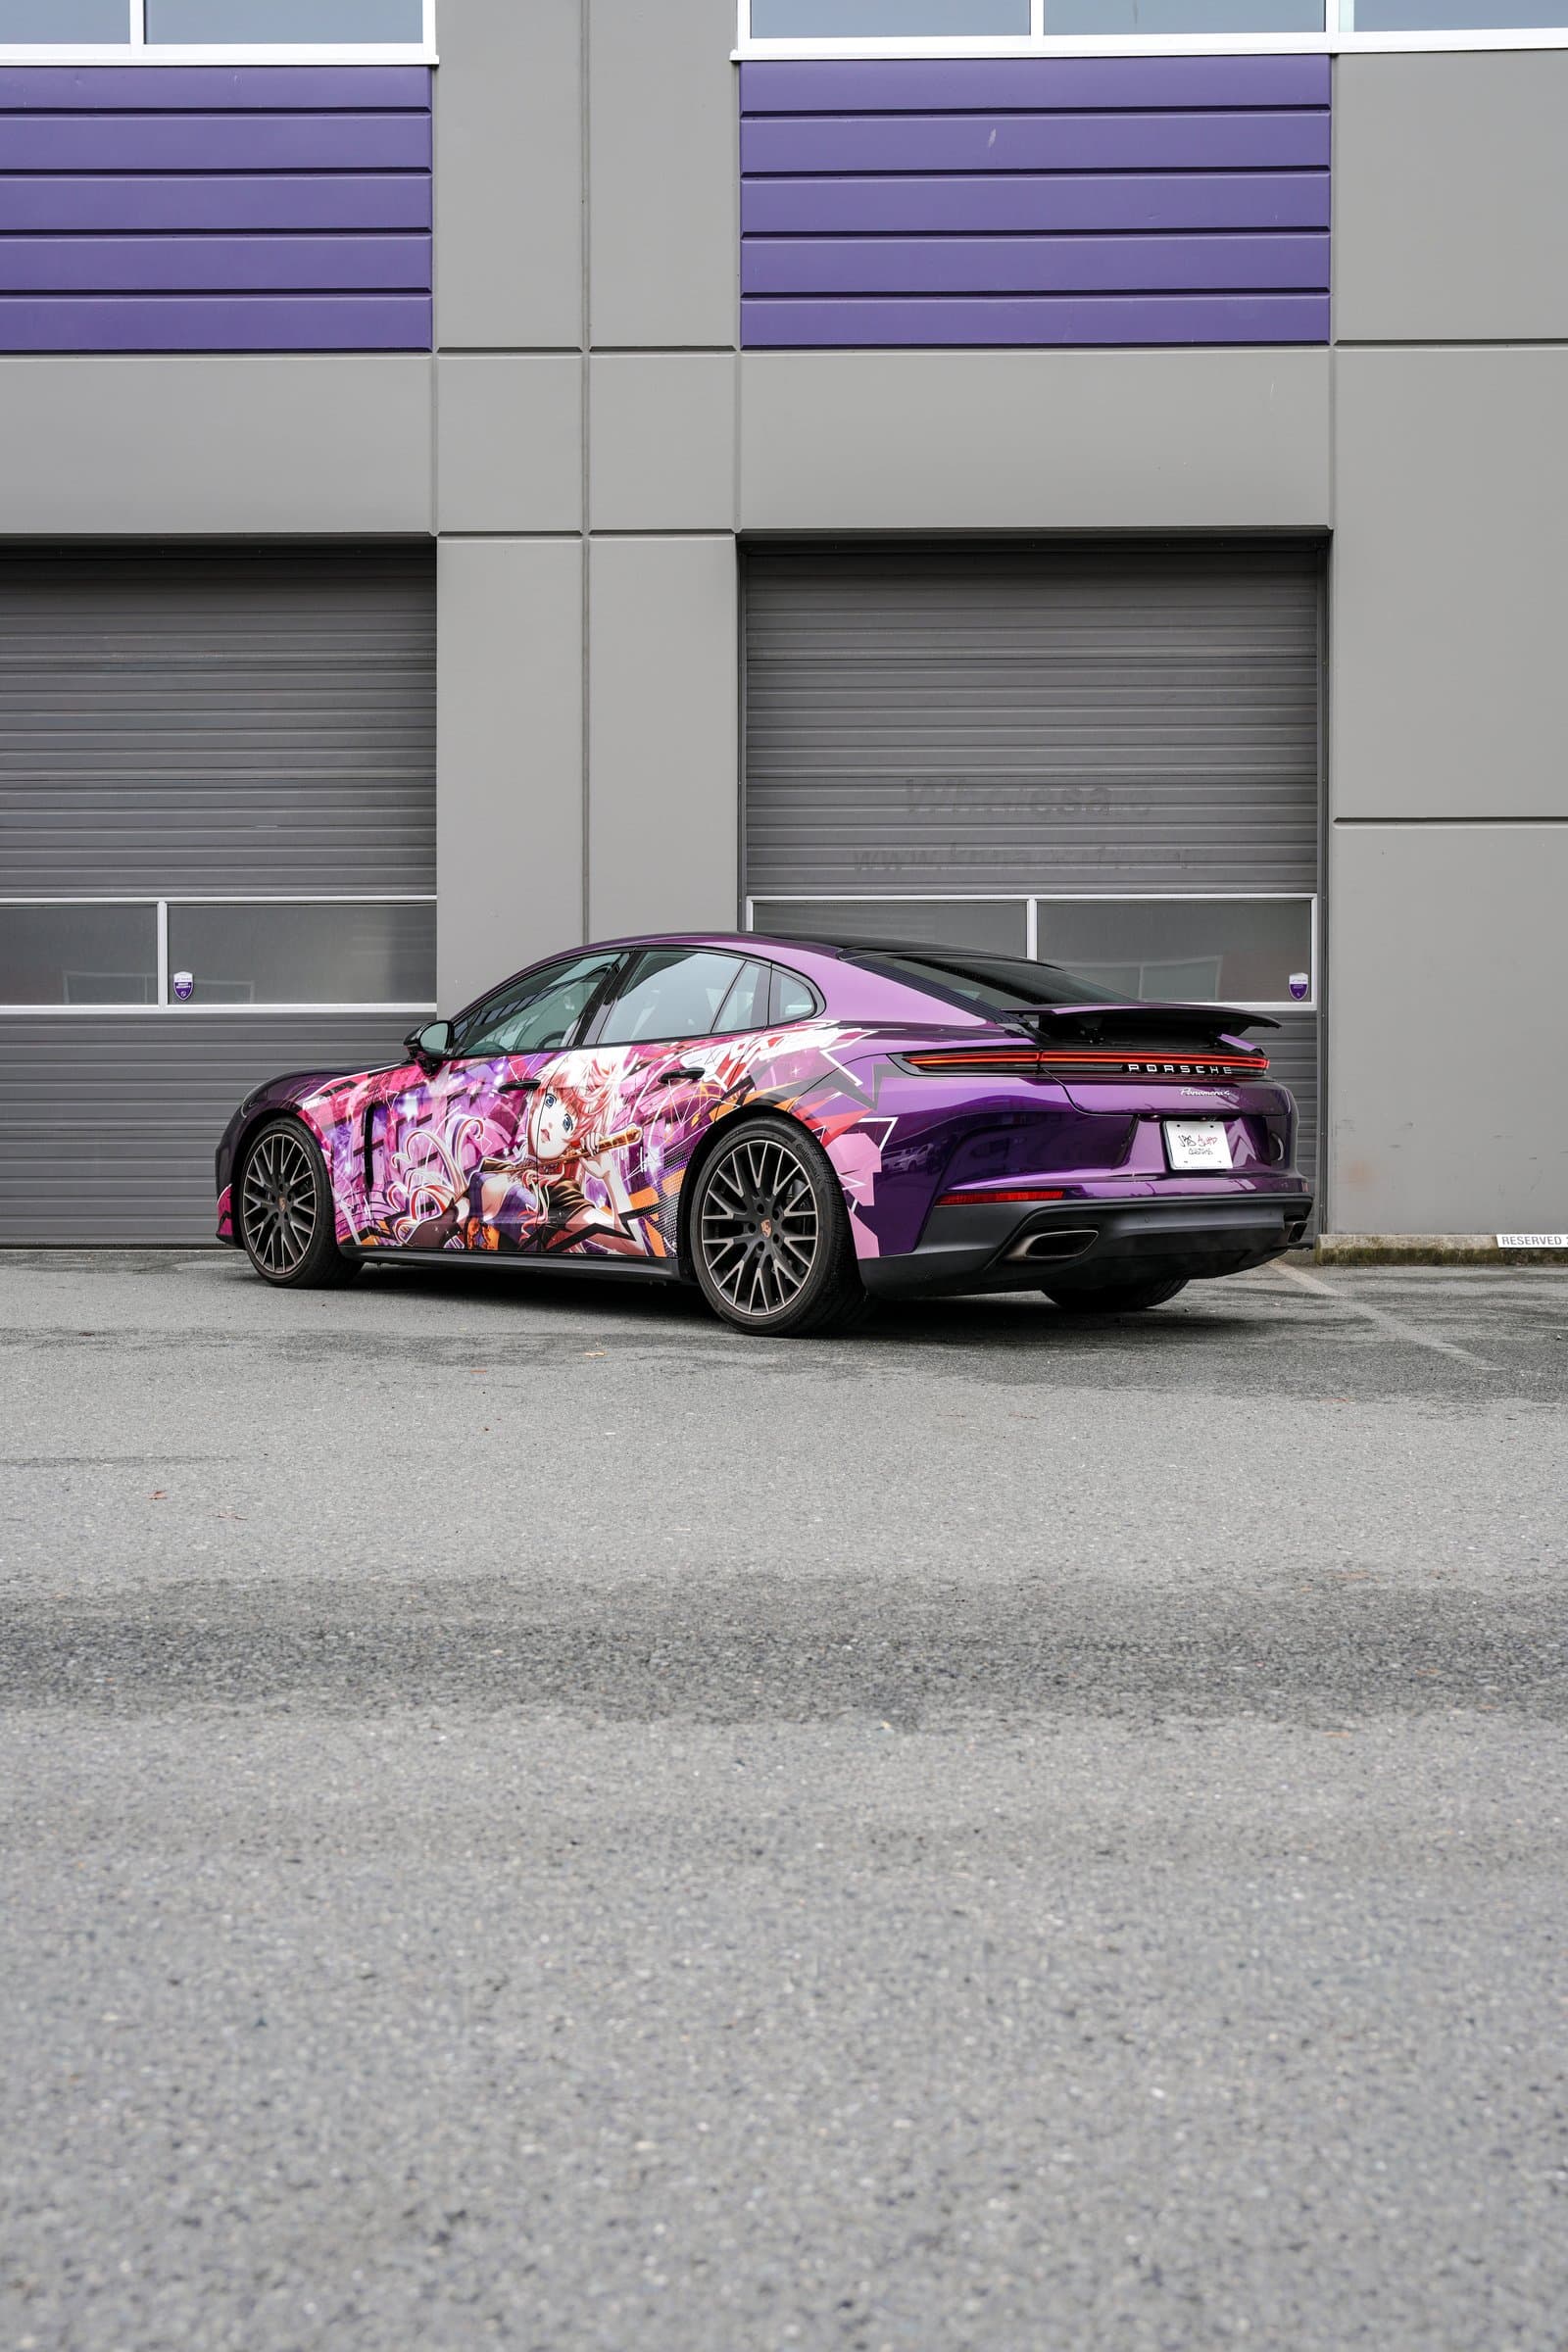
Related project: Porsche Panamera Purple Itasha Anime Wrap