What to Expect During a Colour Change Installation
Published
Booking a colour change wrap is exciting — the prospect of pulling up in a car that looks completely different from how it left the factory is part of the appeal. But if you have never had a wrap done before, the process can feel like a black box. Here is what actually happens at JRS Auto Customs from the moment you book to the moment you collect your car.
The consultation and booking stage
The process starts before you bring the car in. We discuss your colour goals — whether you have a specific shade in mind, a reference image, or just a direction you want to go. Not every colour is available in every material: TPU colour-change film and PVC cast vinyl cover different ranges and finishes, and some colours are better suited to one over the other depending on the look you are after.
We also use this conversation to set expectations on timeline and to walk through what the car needs before the film goes on. If the paint has existing damage — stone chips, swirl marks, oxidation — we will flag it now, because wrapping over damaged paint seals it in.
What happens to the car before the film goes on
This is the most important step that customers never see. The car is washed thoroughly, then decontaminated using a clay bar or chemical decontaminant to remove any bonded surface contamination that washing alone cannot shift. After that comes paint correction — a single-stage or two-stage machine polish depending on the condition of the paint — to remove swirl marks, light scratches, and oxidation before the film is applied.
The film is only as good as the surface beneath it. Any imperfection under the film becomes permanently visible once the wrap is on. This preparation stage typically takes one to three days on its own, and skipping it is the most common reason colour changes look disappointing when they come off a shop that did not do the work properly.
The installation process
Once the paint is corrected and verified, the film installation begins. For a full colour change on a sedan or coupe, the process takes two to four days depending on the complexity of the body lines and whether any panels require custom cutting versus using pre-cut patterns.
The film is applied wet — a slip solution allows the installer to position the film precisely before squeegeeing it into place. Around badges, grilles, and trim, the film is wrapped into edges or trimmed to fit cleanly. On convex surfaces like bonnets and roof panels, the film is heated and stretched carefully to follow the contour without thinning out or distorting.
We photograph every step of the installation — not just the finished result — so that if any edge lifting or issue emerges later, we have a clear record of how the panel was prepared and wrapped.
The quality check and handover
Before you collect the car, we walk the vehicle with you. We check every panel for edge adhesion, trapped dirt, and film uniformity under both natural and artificial light. Any remaining issue is addressed before the car leaves.
We also brief you on the immediate post-installation period. Freshly wrapped cars should not go through a car wash or be exposed to heavy rain for 48 to 72 hours while the adhesive sets. After that window, the wrap is stable.
For more on colour change options and what is available at JRS Auto Customs, see our colour change service page. We also offer TPU colour-change wraps alongside traditional PVC options — the right choice depends on your priorities for durability, finish, and how long you plan to keep the wrap.
If you have questions about the process or want to discuss your colour goals, give us a call or stop by the shop. We are happy to walk you through what is possible.
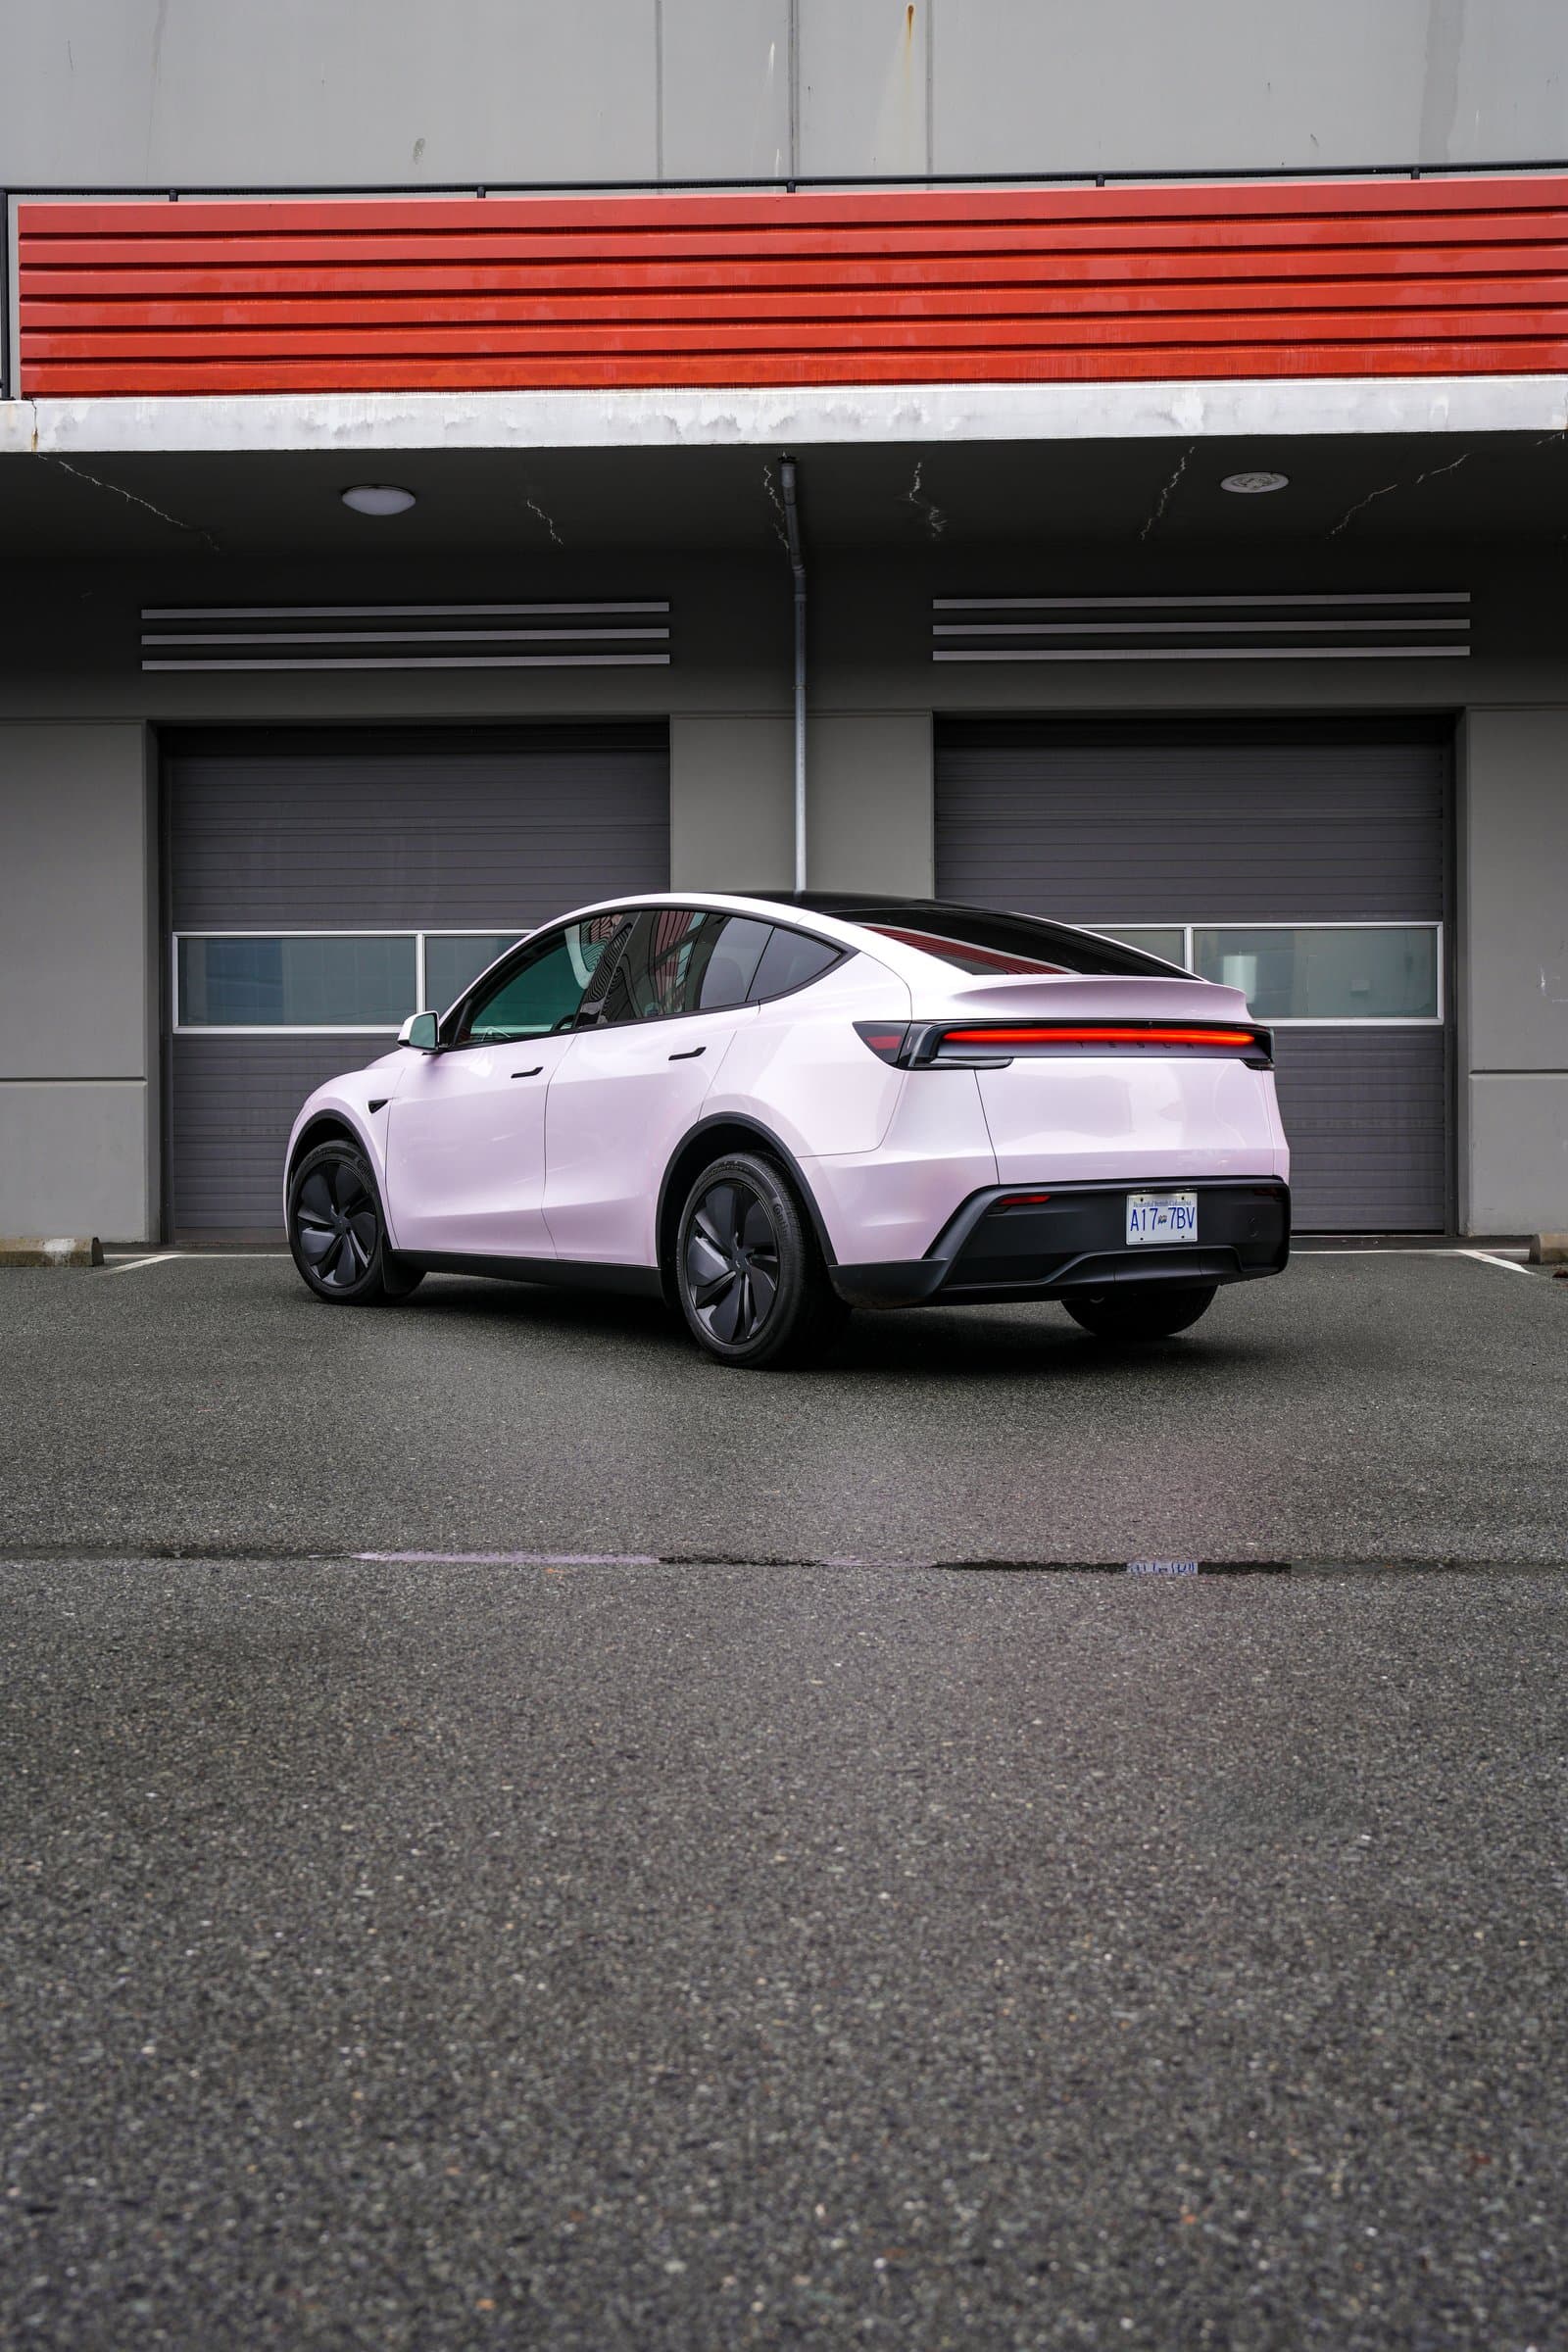
Related project: Tesla Model Y Iridescent Rose Pink TPU Wrap