
What to Know Before a Colour Change Wrap Appointment
Published
Most drivers who book a colour change wrap have done some research before they call. They know what colour they want, they have a rough idea of the timeline, and they have probably looked at a few cars online. What they tend not to have thought through is what to do in the days and hours before the appointment. A bit of preparation makes the day go more smoothly — and helps you get a better result.
What to Do to the Car Before the Appointment
The most important thing you can do before a colour change is wash the car thoroughly. Not just a drive-through rinse — a proper hand wash that removes the build-up of road film, bug residue, and environmental grime that accumulates on every vehicle driven in Vancouver. This matters because the surface needs to be completely clean before the film is applied: any contamination under the film will be visible, and in the worst case will cause the film to fail to bond properly in that spot.
If the car has any existing paint defects — swirl marks, minor scratches, water spot etching — now is the time to address them. A colour change wraps over these defects and locks them in. Some light defects can be addressed with a light polish before the appointment; deeper defects may require paint correction. Discuss this with your installer when you book, because correcting after the wrap is installed is significantly more complicated.
Park the car in a garage or under cover for the 24 hours before the appointment if possible. A car that has been sitting outside in Vancouver drizzle has surface contamination from moisture and pollution that a wash alone may not fully remove. A clean, dry car that has been kept under cover is the ideal starting condition.
What Documents and Information to Bring
Bring your vehicle registration or ownership documents. The shop needs to confirm the vehicle details — make, model, colour as registered — and this is especially important if there is any discrepancy between the registered colour and the actual colour of the car (common with previous wraps or touch-up paints that do not match the original registration).
If you have a specific colour in mind, bring physical references: a paint chip, a sample from a vinyl swatch book, a photo of another car in the colour you want. Online colour names are not consistent between manufacturers and can lead to miscommunication. A physical sample eliminates ambiguity and helps the installer confirm that the film they are ordering matches your expectation.
If the car has any existing damage — dents, chips, scratches — document it with photos before the appointment and share these with the shop. This protects both you and the installer: it establishes the condition of the vehicle before work begins, and it ensures the installer is aware of any areas that may need additional preparation or that the film cannot fully conceal.
What to Expect on the Day
A full colour change on a vehicle the size of an average sedan or SUV takes three to five days of shop time. The first day involves thorough preparation: cleaning, decontamination, panel disassembly where needed, and possibly paint correction. The film is then cut to fit each panel specifically — this can be done from a template for common vehicles or custom-cut for more unusual models. The film is applied panel by panel, with edges tucked and sealed to reduce the risk of lifting.
Most shops will require you to leave the vehicle for the full duration. You will not be able to drive the car while work is in progress. Plan accordingly — arrange alternative transport or a loaner if needed, and do not book a colour change the day before you need the car for a long trip.
When you drop the car off, ask to walk through the vehicle with the installer so you can note any existing conditions together. Confirm the agreed colour and finish in writing. Ask what the process is for inspecting the car when you pick it up — a reputable shop will give you time to inspect thoroughly before you drive away.
How to Care for the Car After Installation
After the wrap is installed, you should leave the car to cure for 24 to 48 hours before washing or exposing it to heavy rain. The film continues to bond to the paint surface after installation and needs that window to set properly.
Once cured, washing is straightforward: a gentle automotive soap and a soft microfibre cloth or wash mitt. Avoid high-pressure wash jets directly at the edges of the film, as this can cause lifting. Do not use abrasive polishes or compound on the film — it will damage the surface. Wax products designed for vinyl or colour change film are fine; conventional carnauba waxes are not ideal.
The wrap manufacturer typically warrants the film against defects for several years. Issues like edge lifting, bubbling, or discolouration that are not caused by damage or improper care are typically covered. Ask the installer what their specific warranty covers before you drive away.
Questions to Ask Before Booking
Before you commit to an appointment, ask what film brand they use and what warranty applies. Ask whether the quote includes paint correction or whether surface preparation is an additional cost. Ask what happens if the film colour ordered does not match your expectation — a professional shop will have a process for resolving this. And ask to see examples of their recent work on your make and model if possible.
The difference between a good colour change and a frustrating one is often in the preparation and the communication before the appointment. Getting these details right means you drive away with exactly what you had in mind.
JRS Auto Customs handles colour change wraps in both PVC and TPU film. See our colour change services to browse options and book a consultation before your appointment.
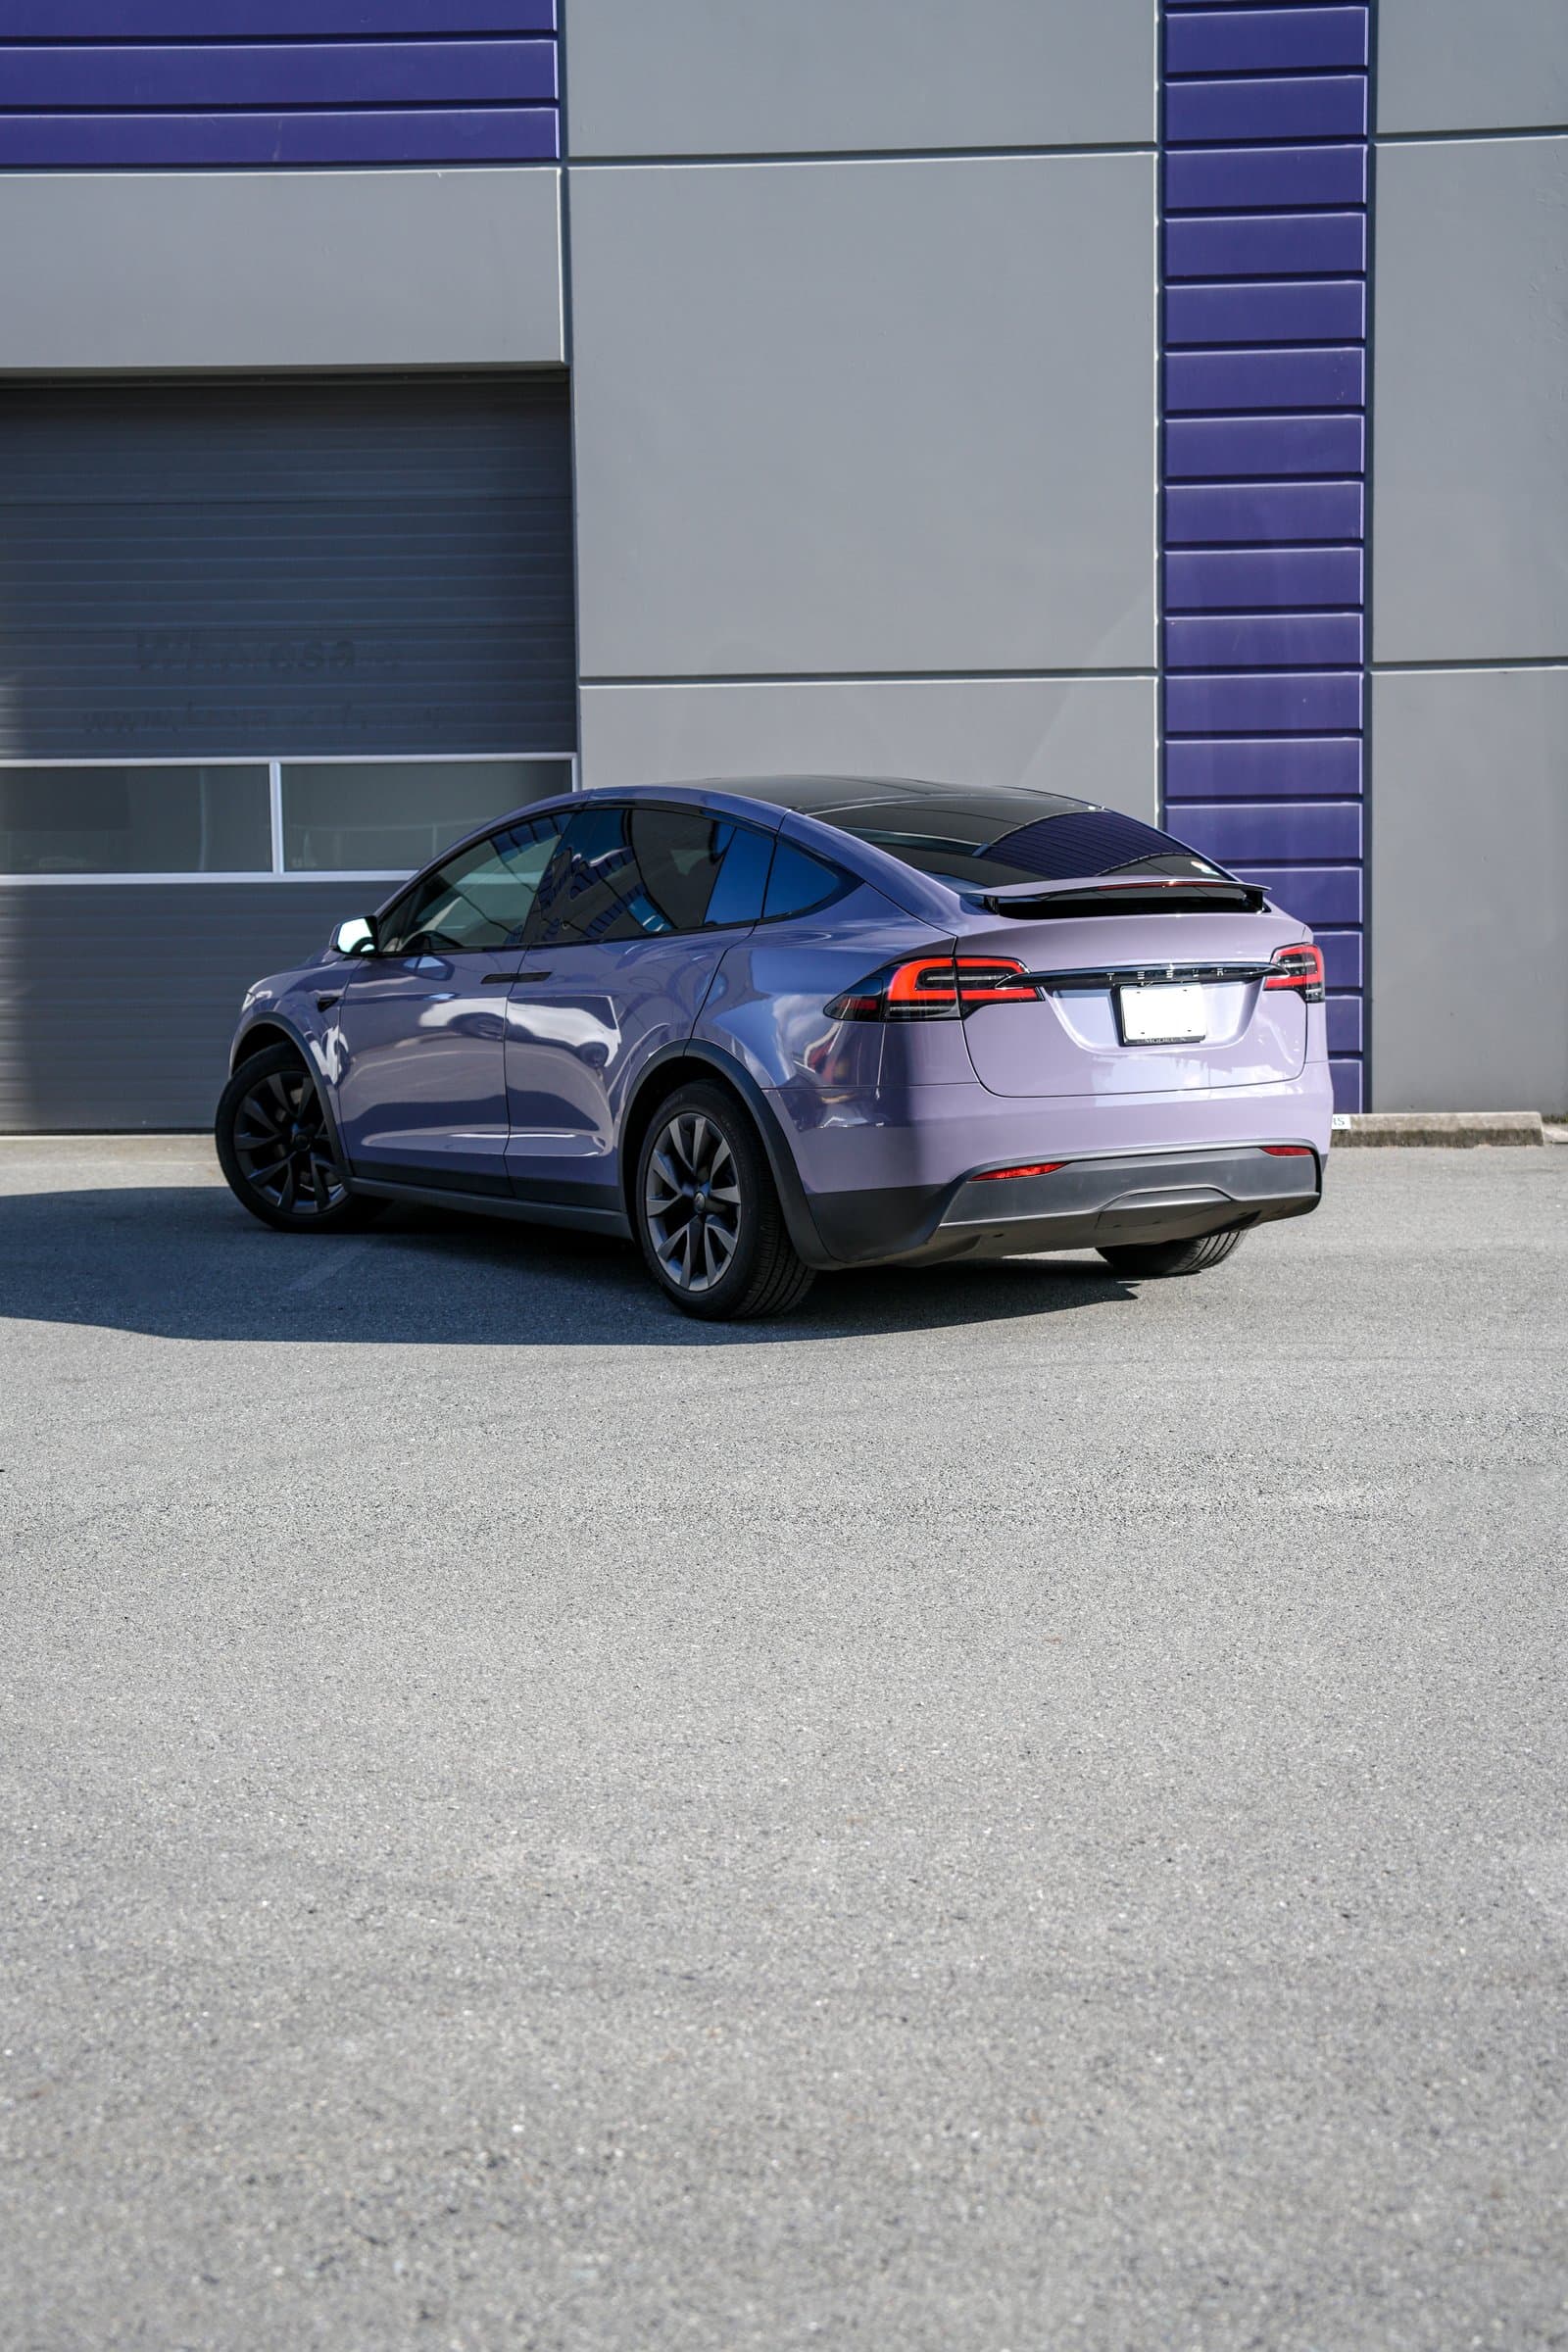
Related project: Tesla Model X — Provence Purple Color Change