What Happens During a Colour Change Wrap Installation
Published
A colour change wrap starts weeks before the car arrives. The process from a decision to a finished car takes longer than most people expect, and the time is not wasted — it is spent preparing surfaces, ordering material, and doing the work that makes the difference between a wrap that lasts three years and one that starts lifting at the edges within months. Understanding what the shop is actually doing during that time is useful before you commit.
The Consultation and Material Selection Stage
Before anything goes on the car, the shop needs to know what you want and what will actually work on your specific vehicle. Not all vehicles are equally suitable for a full wrap — the number of complex curves, recessed handles, emblems, and panel gaps all affect how a colour change will look and how long it takes. A Tesla Model 3 with its flush panels and minimal trim is a different job from a Porsche 911 with its deep creases and complex rear wing geometry.
Material selection is also part of this stage. The shop will discuss whether a cast vinyl film or a TPU colour-change product makes more sense for your situation. Cast vinyl is the traditional choice and comes in a wider range of finishes. TPU colour-change films are newer and offer different properties — they are more resistant to minor stone chips and have a slightly different surface feel. The shop will explain the practical difference so you can make an informed choice rather than just picking from a colour swatch book.
What Happens to the Car Before Installation
The car arrives for installation in a specific condition. It should be clean — not just washed, but genuinely free of road film, tar, and embedded contamination. If it arrives dirty, the shop will clean it first. That cleaning step is not optional; a film applied over contaminated paint will not bond properly and will fail prematurely. Some shops will reject a car that arrives in poor condition and reschedule the installation.
Once clean, the surfaces are decontaminated chemically — an iron remover applied to dissolve bonded brake dust, followed by a clay bar or chemical decontamination step to remove anything the wash left behind. The goal is a paint surface that is completely smooth to the touch, with no bonded contamination preventing the film from making direct contact with the clear coat. After decontamination, the paint is wiped down with an isopropyl alcohol solution to remove any remaining residue and ensure a perfectly clean bonding surface.
The Installation Days
Full vehicle colour changes take time. A standard passenger car typically takes two to four days of skilled work. Vehicles with complex panel shapes, wide-body kits, or significant surface area can take longer. This is skilled manual work — the film is heated with a heat gun and stretched over each panel by hand, with particular attention paid to edges, recesses, and curved surfaces where the film has to conform to compound geometry.
The key stages within installation are panel disassembly where needed — removing emblems, door handles, mirrors, and trim to get a clean wrap edge — then film application panel by panel, followed by post-heating to activate the adhesive, and finally trimming around panel edges with a precision blade. Corners, door sills, and boot shuts are the hardest parts: they require the film to fold around sharp edges without lifting.
What Quality Looks Like and What Goes Wrong
A well-installed colour change wrap has seams that are not visible from a normal viewing distance, edges that are wrapped around panel edges rather than terminated at the edge, and no trapped bubbles or contamination marks visible under the film. Lifting edges are the most common failure mode and the most preventable: proper surface preparation and adequate post-heating are what prevent edges from lifting over time.
The film can be applied over minor stone chips and small scratches without issue — the film itself covers them. But significant paint damage, peeling clear coat, or rust should be addressed before installation. The shop should assess the paint condition as part of the consultation and flag anything that will compromise either the appearance or the longevity of the wrap.
After the Wrap: The First Week
The adhesive needs time to fully cure — typically three to five days in warm conditions. During that period, avoid automated car washes, pressure washers aimed directly at panel edges, and wax or sealant products applied to the film. The car can be driven normally in dry weather. In Vancouver's wet spring weather, the main thing to avoid is pressure washing the edges within the first week.
JRS Auto Customs handles colour change installations from consultation through to final inspection. The team can walk you through what your specific vehicle involves and what timeline to expect before you commit. Browse the colour change service page to see what the process looks like and what options are available for your car.
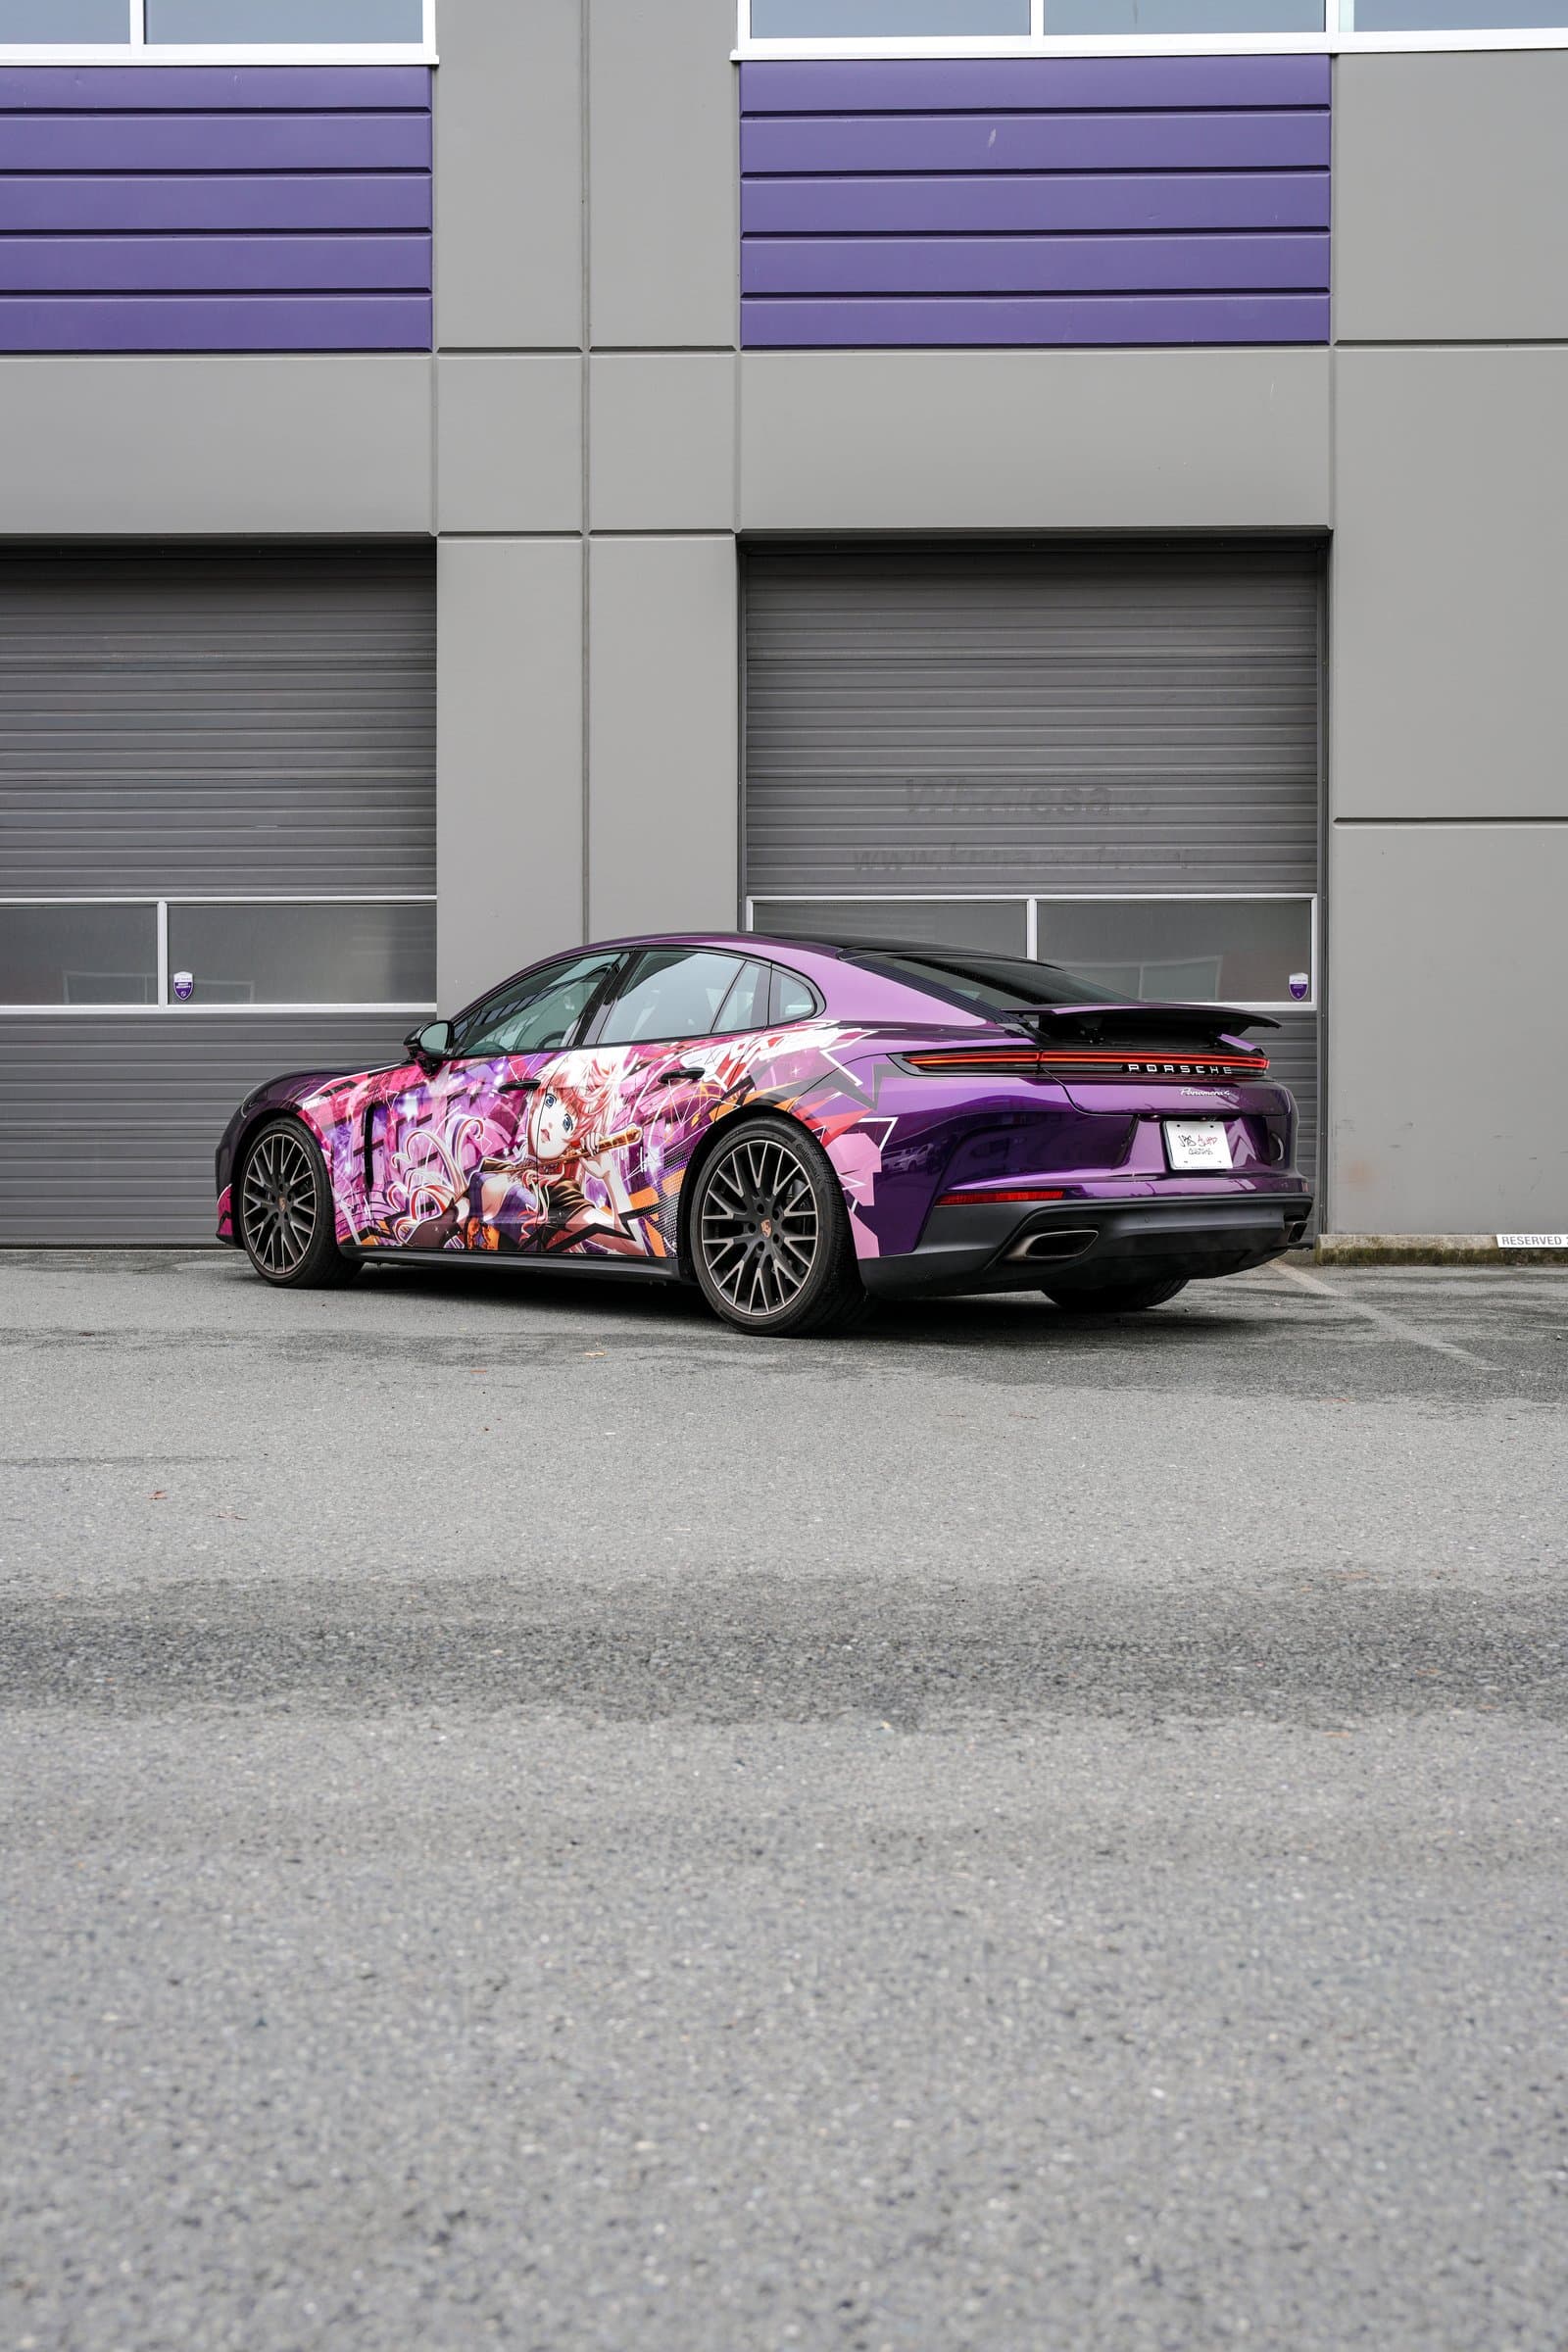
Related project: Porsche Panamera Purple Itasha Anime Wrap