
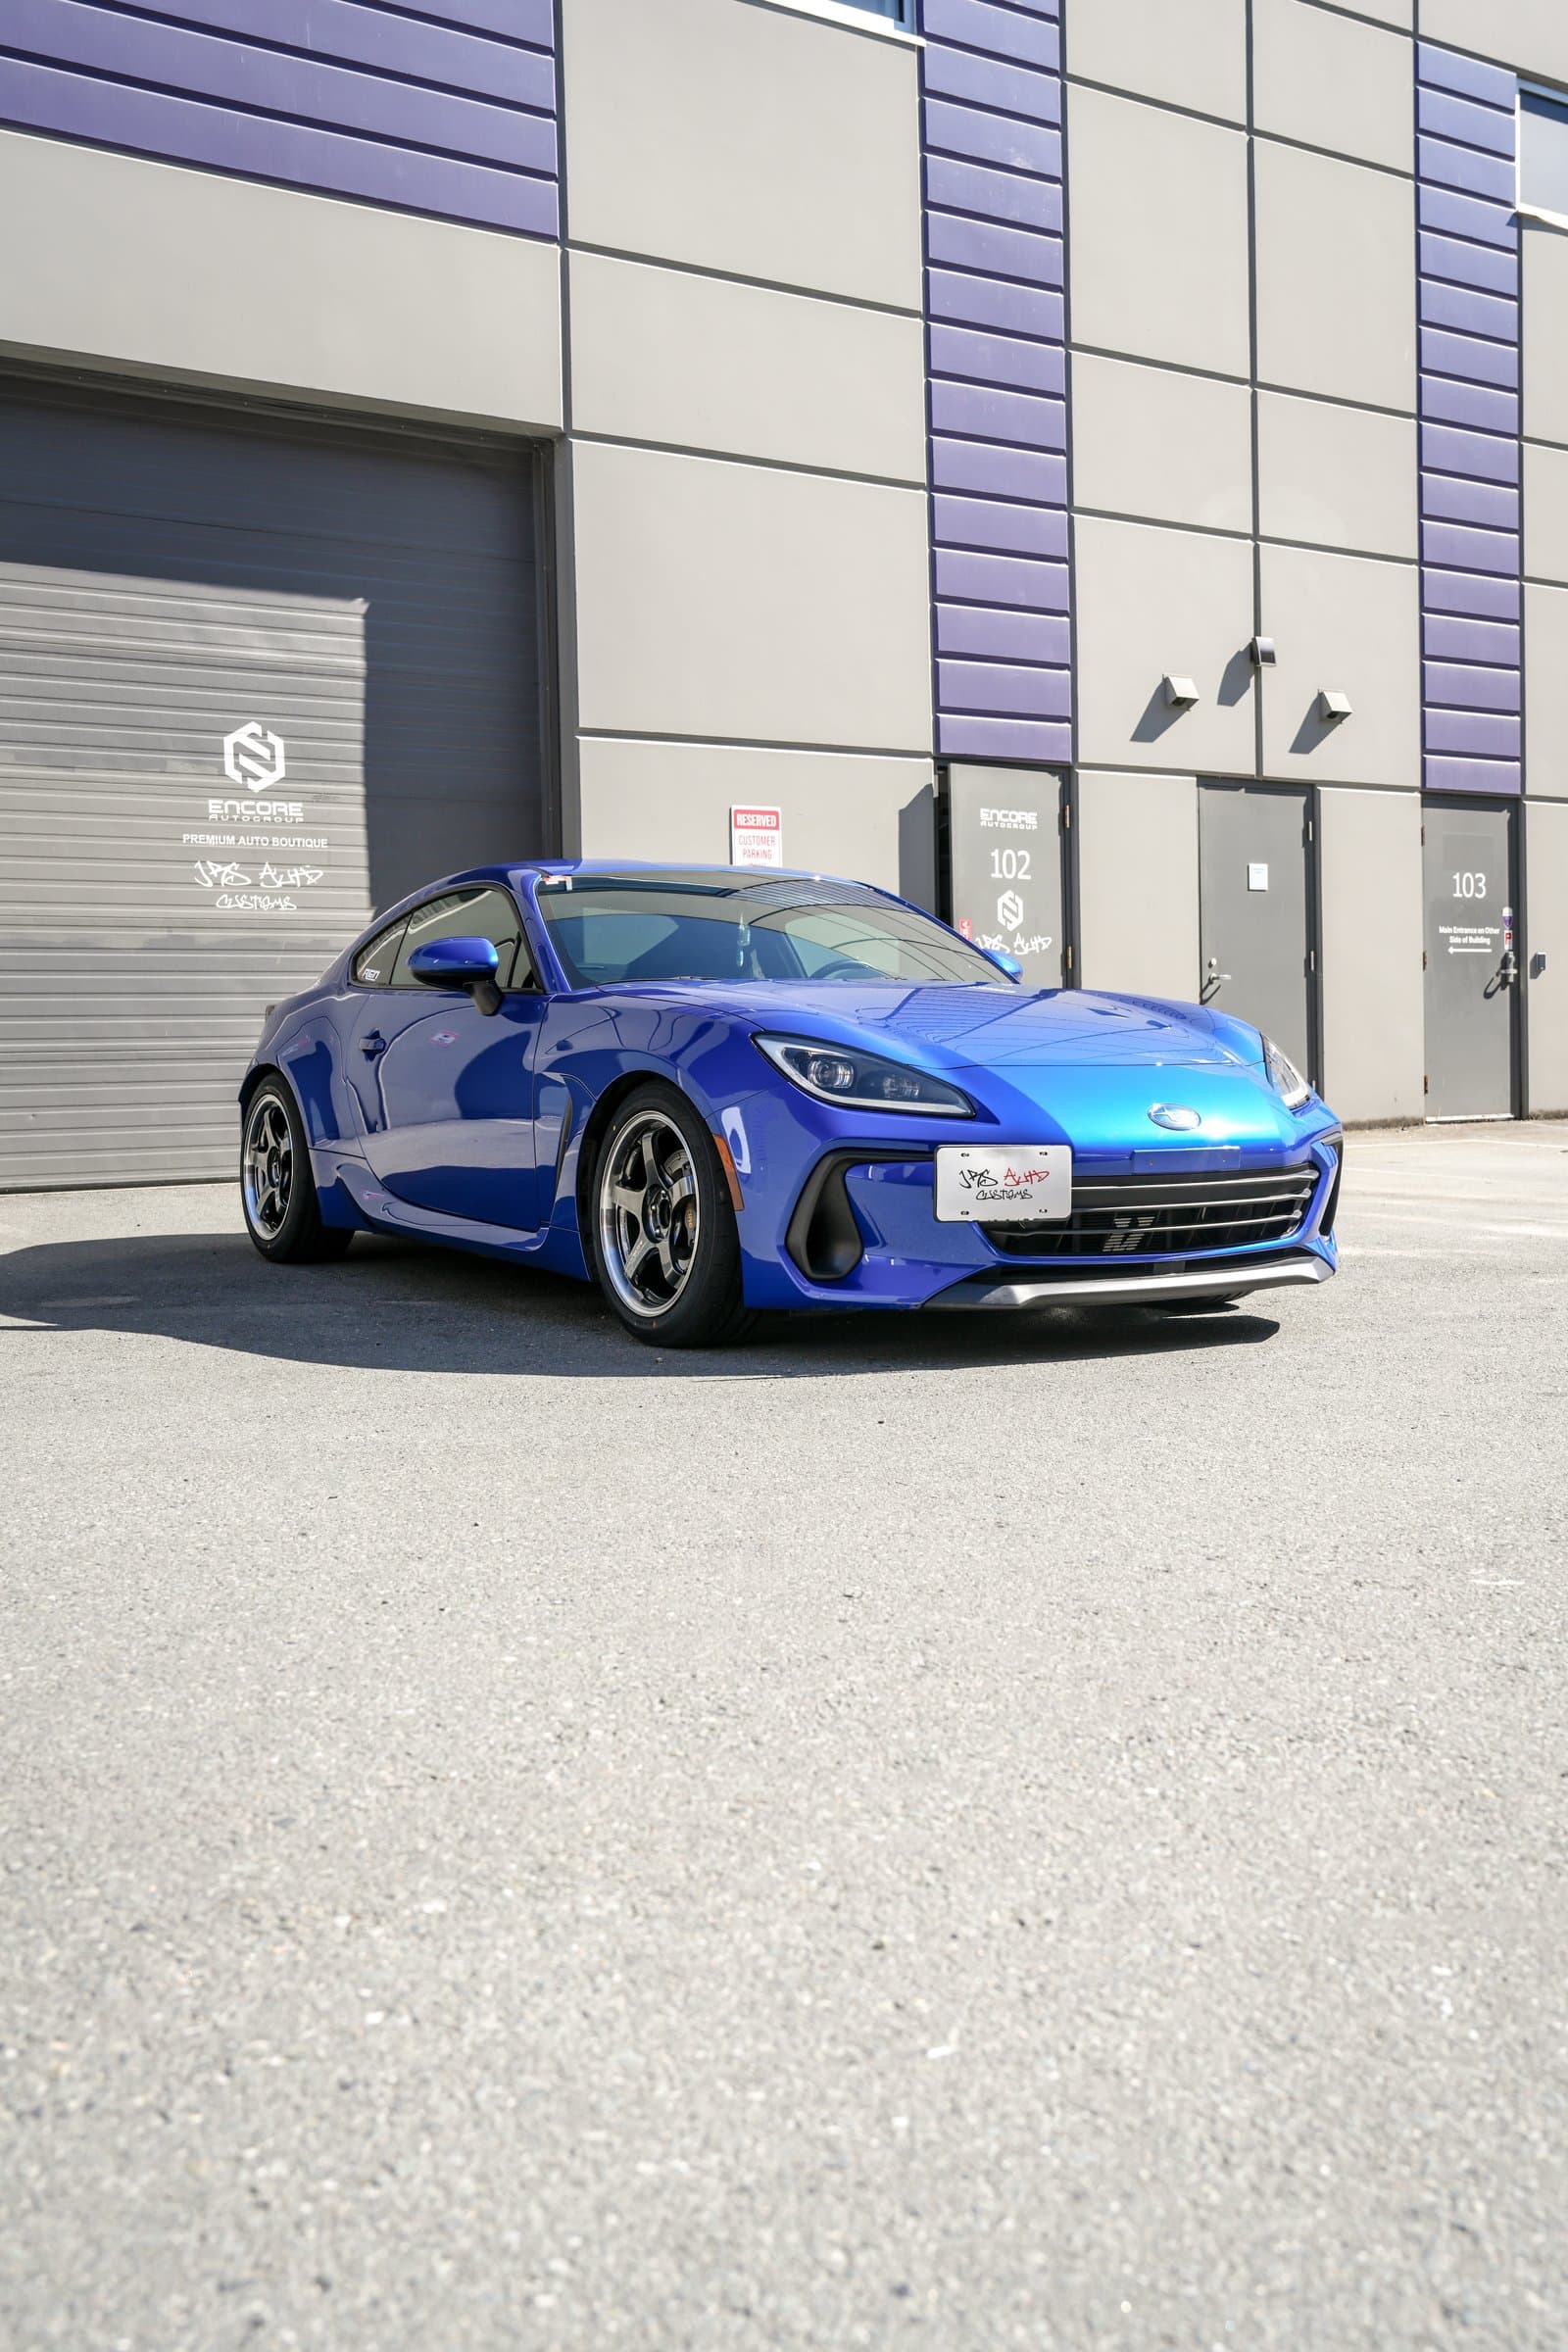
Preparing Your PPF for Vancouver's Wet Season
Published
Paint protection film does not maintain itself. After a summer of highway kilometres, bird droppings, and tree sap, your PPF is carrying more grime than a quick wash reveals. As Vancouver heads into its wet season, now is the right time to give the film a proper inspection and get it ready for what is coming: salt, sand, and road debris that will test every edge and seam.
Why Vancouver's Winter Is Hard on PPF
BC uses liquid brine and rock salt on highways and municipal roads. That brine sits on paint and PPF for extended periods because Vancouver rarely gets the hard freezing that clears road surfaces quickly. Salt is hygroscopic -- it stays wet against the film and slowly works at the adhesive at panel edges. Combine that with sand used for traction on icy坡道 and you have an abrasive mix that can cloud the surface of even a high-quality clear film over a season.
Step 1: Full Inspection Before the Wet Season
Do this in daylight or under good artificial light. Walk around the car and check each panel. Look specifically for: lifting at edges and corners -- these are where contamination gets underneath and causes the film to peel; yellowing or discolouration -- clear PPF should remain optically clear; scratches and marring that go through the top coat; and any areas where road debris may have penetrated the film and contacted the paint beneath.
If you catch a small lift before winter, a shop can often re-apply that section without replacing the whole panel. Waiting until spring often means the panel needs a full re-wrap.
Step 2: Deep Clean the Film
Use a dedicated PPF-safe wash product -- not a generic shampoo that contains waxes or gloss enhancers, which can leave a film on the surface and affect the hydrophobic properties of the coating. A two-bucket wash with a soft microfibre mitt is the baseline. After washing, use an isopropyl alcohol wipe-down on any remaining contamination spots before the wet season sets in.
If the film has developed water spots from Vancouver's hard city water, a mild acid-based remover can address them -- but test a small area first and do not let it sit on edges or seams.
Step 3: Recharge the Top Coat
Many PPF products have a ceramic top coat that provides hydrophobic beading. Over time, especially after summer UV exposure, that top coat can lose its efficacy. A dedicated PPF top coat refresher -- applied after cleaning and before the rain arrives -- restores the beading and makes the film easier to clean throughout winter. It also adds a thin layer of protection over the film's own coating, buying extra life.
Do not use a standard ceramic coating meant for bare paint on PPF without checking with your installer first. Some formulations can interact with the film's adhesive.
Step 4: Panel Edge Protection
The most vulnerable part of any PPF installation is the edge -- where the film meets raw paint. In winter, ice and packed snow can put pressure on these seams. If you are concerned about edge lift accelerating, JRS Auto Customs can apply an edge sealant to at-risk seams before the season hits. This is a quick process that adds meaningful protection at the most failure-prone points on the film.
When to Replace Rather Than Repair
If inspection reveals that significant discolouration, widespread scratching, or extensive edge failure is already present, a seasonal touch-up may be a temporary fix. A full replacement before winter gives the new film the best possible start -- clean paint underneath, no contamination in seams, and the full season to perform without fighting existing damage.
JRS Auto Customs can assess your current PPF installation and advise whether repair, edge sealing, or replacement is the right call for your car and driving conditions. Book an inspection before the cold season makes scheduling harder.
Learn more about PPF installation and maintenance options at JRS Auto Customs.
Related project: Subaru BRZ — Full Gloss Clear PPF