What a Full Interior Detail Actually Includes in Vancouver
Published
When Vancouver drivers book a full interior detail, most assume it means a thorough vacuum and a wipe of the dashboard. It does not. A genuine full interior detail is a staged process with distinct steps, each targeting a specific surface or problem. Understanding the sequence helps you decide whether your car needs the full treatment or just one or two stages.
Stage 1: Pre-Assessment and Interior Removal
Before any product touches a surface, the detailer assesses what is actually in the cabin. This includes identifying stain types — water marks on leather from wet clothing, oil transfer from hands on the steering wheel and shifter, food residue in cup holders, and the fine dust that settles on plastics from BC's dry summers. The assessment also covers odours: whether they are surface-level or embedded in the upholstery fibres. Loose floor mats are removed, seats are photographed for reference, and the overall condition is documented. If there is mould from a wet-weather incident, or smoke residue from a previous owner, that changes the entire approach.
At this stage, any items left in the cabin are catalogued. A detailer who skips the assessment and goes straight to cleaning often misses the root cause of a smell or stain, which is why problems resurface within weeks.
Stage 2: Deep Vacuum and Dry Debris Removal
The second stage targets everything loose: food crumbs, sand from beaches, the fine gravel that works its way under floor mats on Lower Mainland roads, and the debris that accumulates in seat rail tracks and between seat cushions. A crevice tool on a workshop vacuum extracts material from areas a standard car vacuum cannot reach. Floor mat fasteners are undone and both sides are cleaned separately. This stage is unglamorous but it is the foundation — leaving debris in seat rails means the seats cannot be properly shampooed underneath them.
Stage 3: Leather and Upholstery Cleaning
Leather seats in Vancouver vehicles face a specific combination of challenges: wet clothing in winter, body oils from daily use, and UV exposure through large panoramic sunroofs on vehicles like the Mercedes GLS and BMW X5 that are common in BC. A pH-balanced leather cleaner is applied with a soft brush to agitate the surface without damaging the protective coating applied at the factory. The cleaner lifts oils and grime from the grain, not just the surface.
For fabric seats and carpet, a dedicated upholstery shampooer is used with a wet extraction or dry foam method depending on the level of soiling. The goal is to suspend dirt in solution and extract it, not simply spread it around. Stubborn stains — coffee marks, ink, the chalk dust that appears after a wet soccer season — are treated with a targeted spotter before the main shampoo.
This stage typically takes the longest because dwell time matters: the cleaning solution needs time to work before agitation. Rushing it is why DIY interior cleaning often leaves seats looking clean but still smelling stale.
Stage 4: Dashboard, Plastics, and Hard Surfaces
Once upholstery is clean and protected, the hard surfaces are addressed. A dedicated interior cleaner — not an all-purpose household product — is applied to the dashboard, door panels, centre console, and any Piano Black or carbon-fibre trim. The risk with dashboards is using dressings that leave a glossy sheen: in direct sunlight, these create a glare that is genuinely dangerous on the road. A proper interior surface product adds a subtle matte finish that looks factory-correct and does not attract dust.
Vents, buttons, the area around the gear shifter, and the steering wheel hub all receive attention with detailing brushes and low-moisture tools. The steering wheel is particularly important — it is touched every drive and absorbs hand oils constantly. If the rest of the interior is clean but the steering wheel is still slightly tacky, the whole job looks unfinished.
Stage 5: Windows, Glass, and Final Inspection
Interior glass — windscreen, side windows, rear glass, and the screen of the driver display — is cleaned with a dedicated glass cleaner and a microfibre cloth that has not been used on any other surface. Any streaks on the windscreen become a safety issue at night or in direct sunlight, so this stage is done last and inspected from the driver seat angle.
After cleaning, a final walk-through checks for missed spots, checks that all controls and buttons are dry and functional, and verifies that odours have been addressed. If an ozone treatment was part of the package, it is applied at this point — ozone works on the air inside the cabin, not on surfaces, so it follows all cleaning stages.
JRS Auto Customs provides full interior detailing services at its Vancouver shop. Whether your vehicle needs a single-stage refresh or the complete multi-stage treatment, the team can assess the condition and advise on what is needed. Visit the
interior detailing pageon the JRS Auto Customs website to learn more or book an appointment.
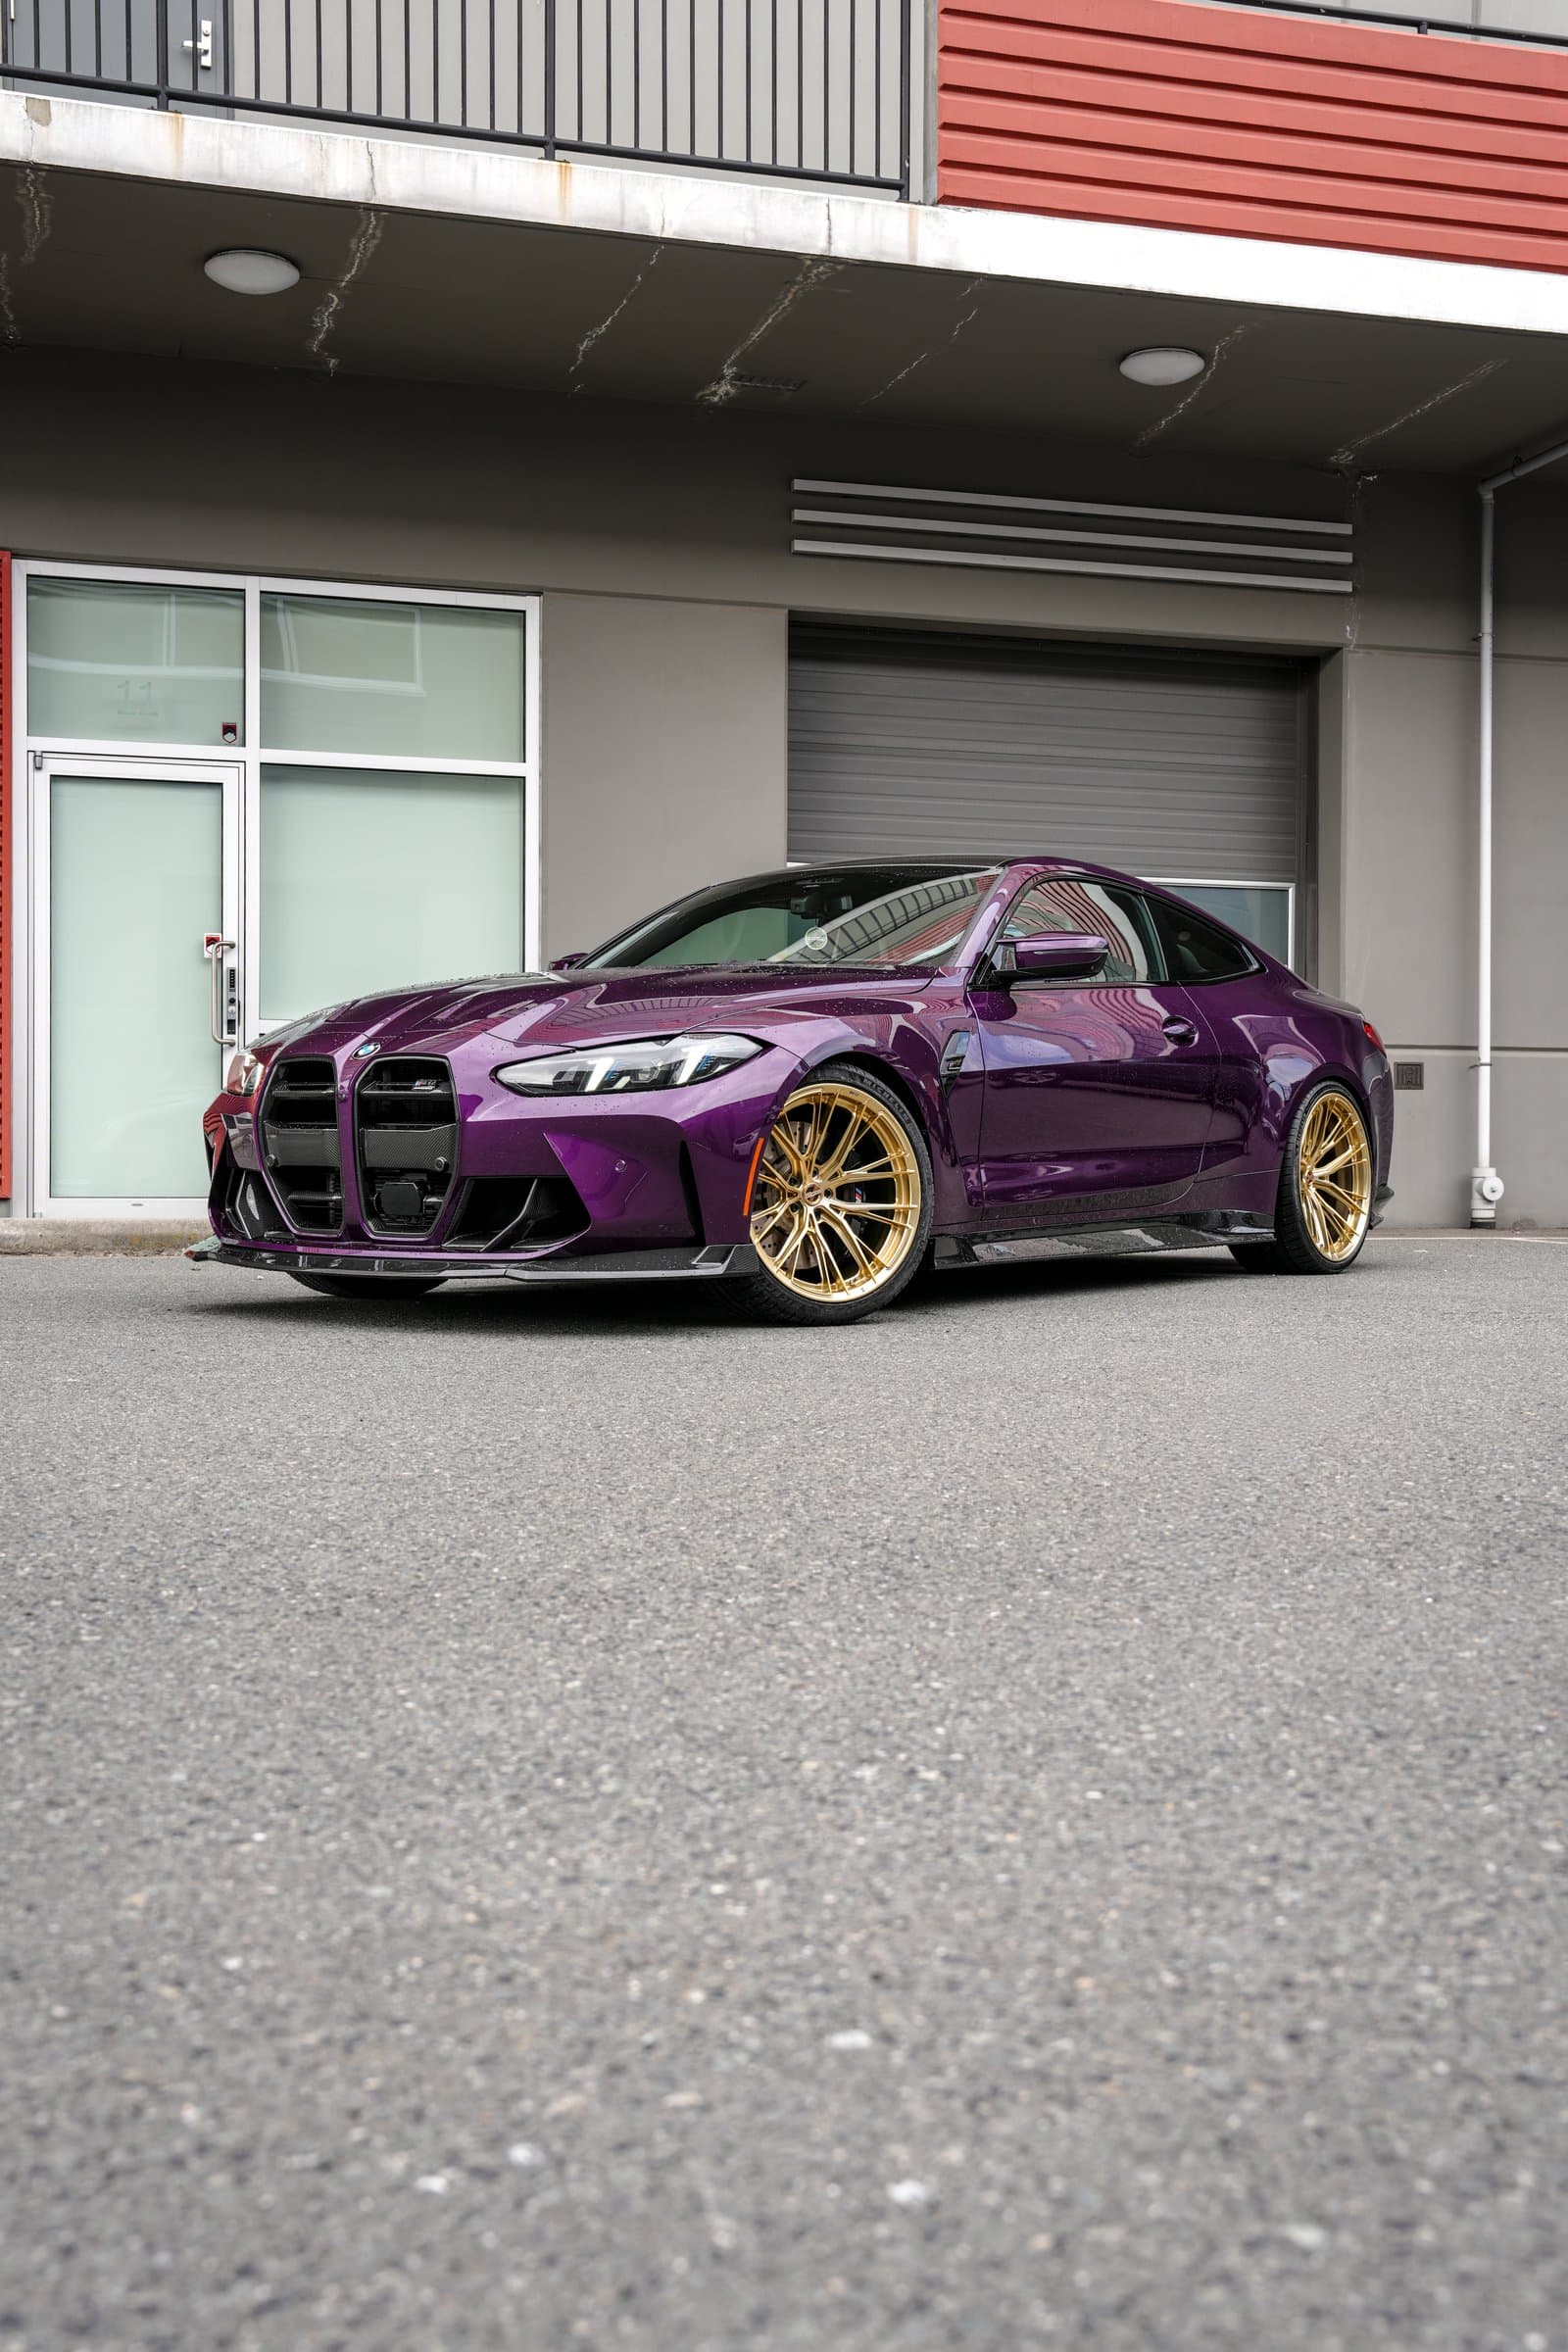
Related project: BMW M4 — Forgelite Wheels + RZ Aero Kit